Have you ever been working on a video production, only to find out later when you played a shot back that it was too shaky for prime time? Then you think to yourself, how much better it would be if only it was stable. If only… Thanks to advancements in technology, this concern is a thing of the past.
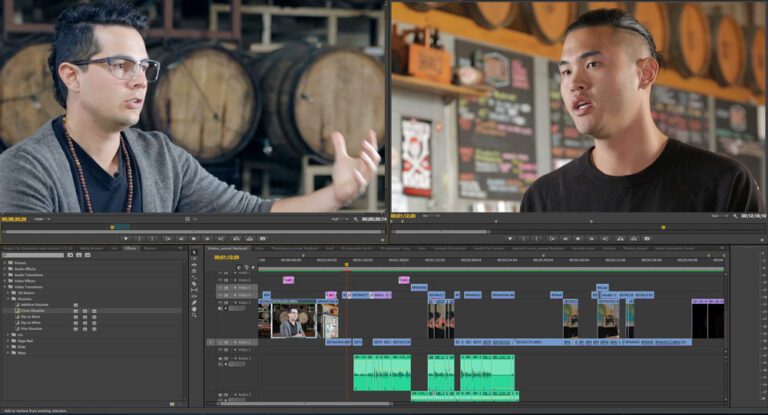
With a few video editing effects, you can be back in alignment before you know it. The “warp stabilizer” is an effect option in Adobe Premiere and Adobe After Effects. After you import your footage, and the effect has processed, you are given a number of options to alter the intensity of the effect. Of course, what comes up must come down, so there are consequences of altering the original video after a certain extent. For example, if you increase the level of stability (called smoothness) too much (>75%) you can have what is referred to a “jello effect.” The footage may now be stable in terms of shakiness, but it will appear as if the new footage is on a liquefaction zone during an earthquake. Things will seem distorted; the ground will be wavy, and the buildings seem to vibrate. The trick is to find the right amount for your video.There have been a few times while editing footage that things got a little tricky. For example, a sequence for the marketing video San Leandro: Prototype City of the Future really needed the warp stabilizer. Unfortunately it changed the whole world to jello immediately, even at a seemingly low percentage. Using the GoPro Hero 2, we got a great tracking shot of some farmers walking. The only issue was the video needed image stabilization. Our video editing software was booted up, only to find out that when the warp stabilizer effect was applied, the clouds were bouncing like kids in an inflatable house. I did a number of small renders at 25% quality and different levels of smoothness, to find out what worked best. I even switched the methods (Adobe automatically starts off with Subspace Warp but there is also a number of other options). Eventually I found something that I was happy with.
So how does the warp stabilizer work exactly? It takes tracking points on your screen and moves the image around, slightly cropping the edges (if you shoot in 1080p and export in 720p then you would have some wiggle room while editing, no pun intended). You can see how it works by changing your framing from “stabilize, crop, auto-scale” to “stabilize” only. By doing this you can see exactly how much the program has to adjust for you shaky cam footage.
Using warp stabilizer on drone footage is perfect, since not everybody is an ace pilot yet. A complementary effect to use with the warp stabilizer for drones would be the “optics compensation”. This effect isn’t on Premiere, only After Effects. It helps with the lens distortion since the drone camera is such a wide-angle lens. Just check the box to change the settings to reverse lens distortion, set it to about 30% and you’re good to go. These two effects work great together and can help you get a better-balanced video.
Next time you go out shooting and think to yourself that you ruined the take because your footage is shaky, just remember the warp stabilizer, and give it a shot.
Subscribe to our BLOG
Stay in touch & learn how to attract customers, become a thought leader, create effective marketing campaigns, & more.